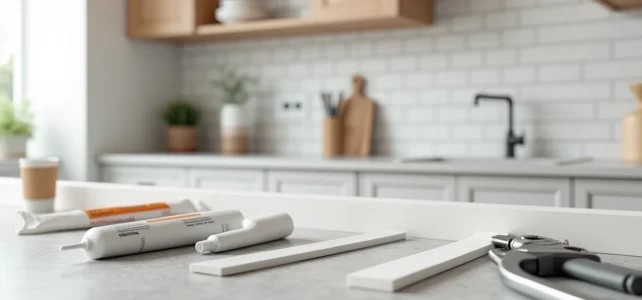
A countertop that doesn’t touch the wall is a classic in the kitchen. A protruding pipe, an uneven wall, or a second-hand cabinet that’s too narrow: the reasons vary, but the problem remains the same. Crumbs, water, and dust infiltrate this open space. Here are ten practical techniques to fill the gap between a wall and a countertop, from a small gap of a few millimeters to a void of several centimeters.
1. Flexible silicone sealant for gaps of a few millimeters
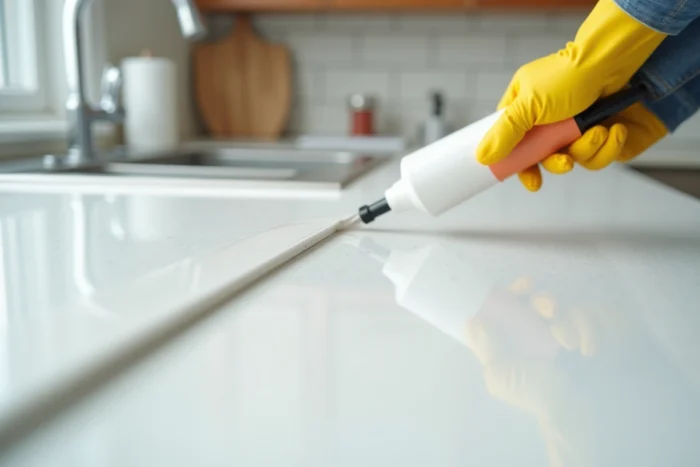
Have you noticed a fine gap between your countertop and the wall? Kitchen-bathroom silicone sealant remains the quickest solution. Apply a regular bead with a gun, then smooth it with a wet finger dipped in soapy water.
Choose a translucent or color-matched anti-mold silicone. It absorbs the micro-movements of the cabinet without cracking. However, beyond one centimeter in width, silicone alone will sag and lose its hold.
To explore other tips for filling the gap between wall and countertop, several complementary methods exist depending on the width of the void.
2. Polyethylene foam backer rod before caulking
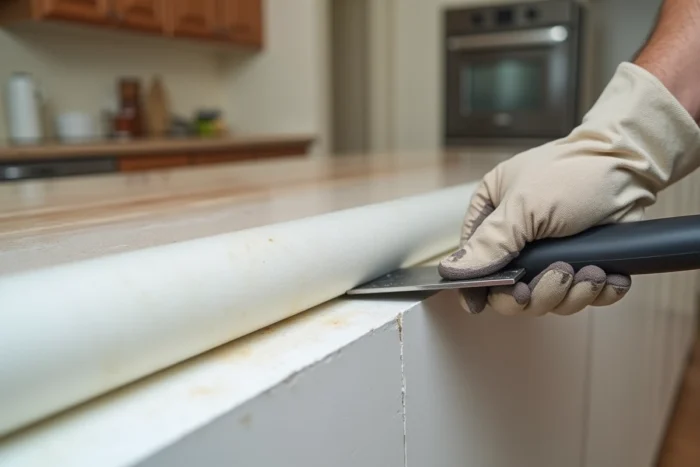
When the gap exceeds one centimeter, caulk alone is no longer sufficient. A polyethylene foam backer rod is inserted into the gap to create a stable support. The caulk or silicone is then applied on top, at a controlled thickness.
This technique prevents the joint from sagging over time. It also allows for controlling the depth of the fill. These foam rods can be found at hardware stores in various diameters.
3. Aluminum or stainless steel corner trim for a clean finish
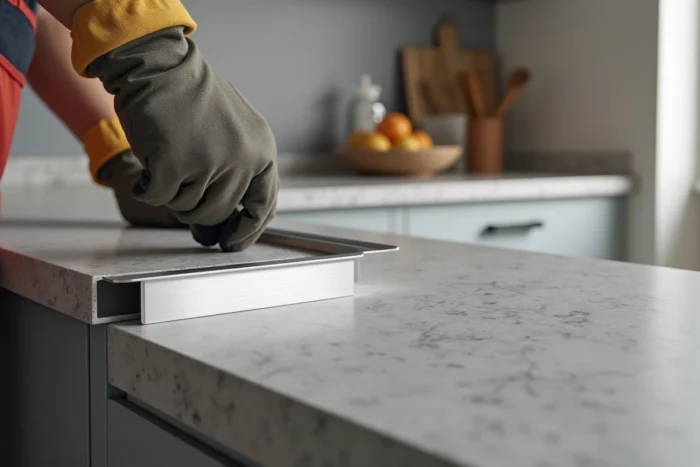
The metal corner trim hides the gap while protecting the edge of the countertop. It can be fixed with adhesive or screws and cut to the desired length with a hacksaw.
Brushed aluminum or stainless steel: the choice depends on your kitchen style. Stainless steel is more resistant to humidity in the long term. A fine silicone joint on both edges of the trim ensures complete sealing.
4. Snap-on PVC junction profile
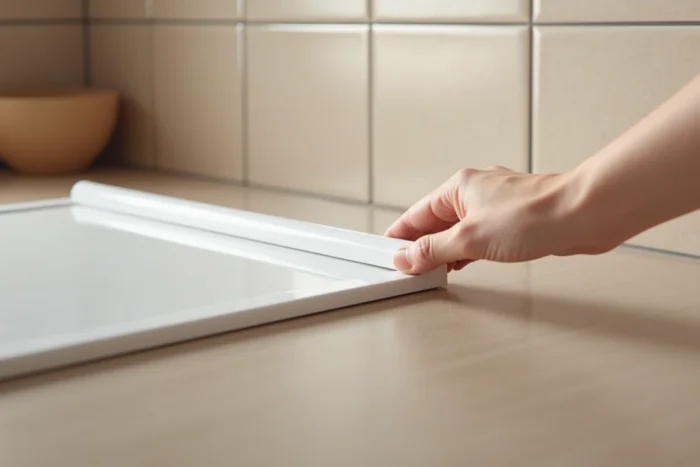
Less expensive than aluminum, the PVC profile clips directly onto the edge of the countertop. No glue or screws are needed. It comes in white, gray, or wood imitation.
The PVC profile is suitable for laminate countertops, which represent the majority of kitchens. Its limitation: it yellows over time in kitchens that are very exposed to light. Plan for a replacement every few years if the discoloration bothers you.
5. Treated wooden batten as a structural base
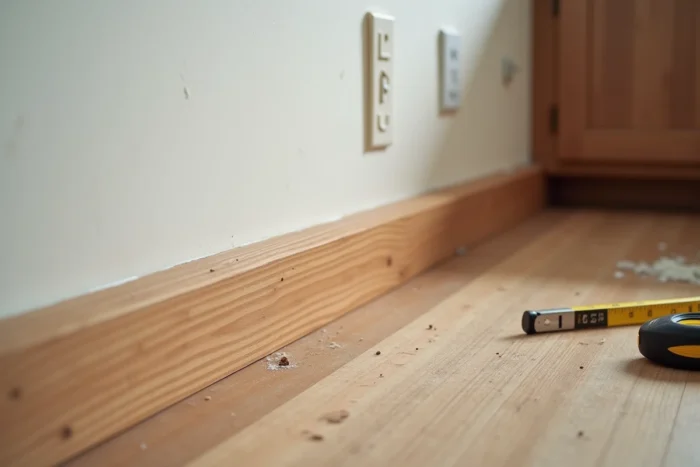
Do you have a gap of several centimeters? A simple joint or trim will not be enough. A treated wooden batten (or waterproof MDF) is screwed to the wall to fill the distance and serve as a support for a backsplash.
This approach transforms a flaw into a neat finish. The batten recreates a visual continuity between the wall and the countertop. Sand it down, then apply a paint suitable for humid areas or a food-safe varnish.
6. Backsplash extended to the countertop
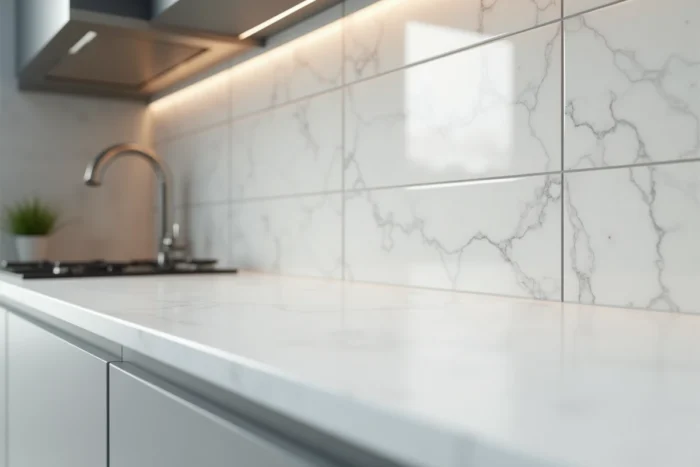
Rather than filling the void from the bottom, the backsplash masks it from the top. A thick backsplash (tiles, tempered glass, zellige) installed on a batten extends down to the countertop and makes the space disappear.
Current kitchen trends lean towards visually prominent backsplashes. A textured zellige or graphic terrazzo draws the eye and diverts attention from any irregularities. This is the most aesthetic solution for large gaps.
7. Acrylic caulk for painted walls
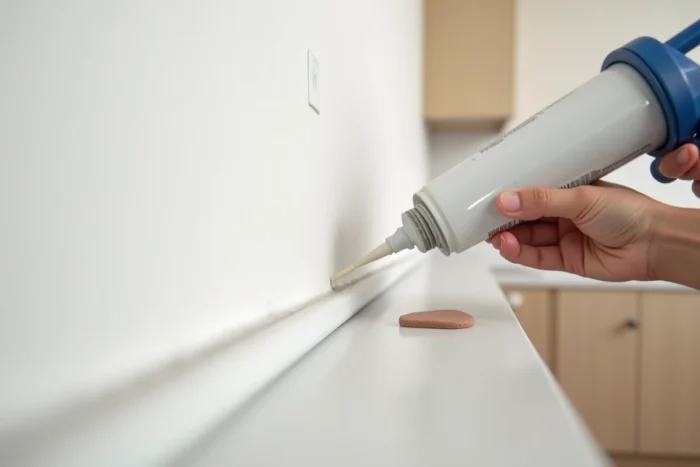
Acrylic caulk can be painted, unlike silicone. If your wall is painted (not tiled), this is a decisive advantage. You apply the caulk, smooth it out, and then paint over it once dry.
Acrylic caulk remains flexible but does not withstand direct water well. Therefore, it is suitable for areas away from the sink. Near the faucet, prefer silicone or a waterproof profile.
8. Custom countertop splash guard
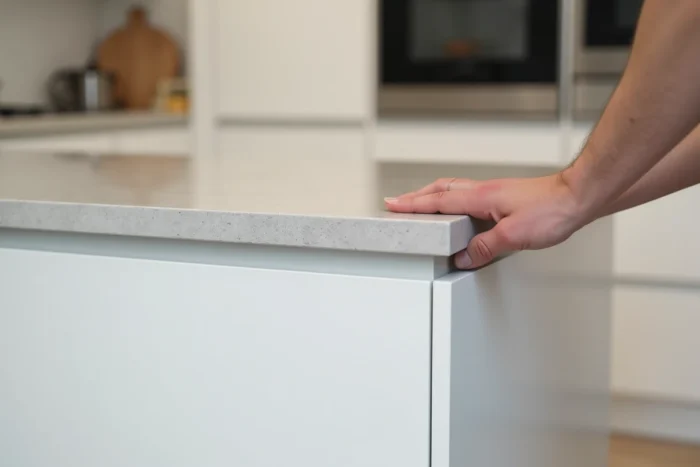
Some manufacturers offer splash guards that match the countertop. They can be glued or screwed to the wall, and their height covers gaps of up to a few centimeters.
The main advantage: consistency of materials and color. The visual connection is nearly invisible. Ensure that the splash guard is compatible with your type of countertop (laminate, solid wood, quartz) before purchasing.
9. Expanding foam + covering for very large gaps
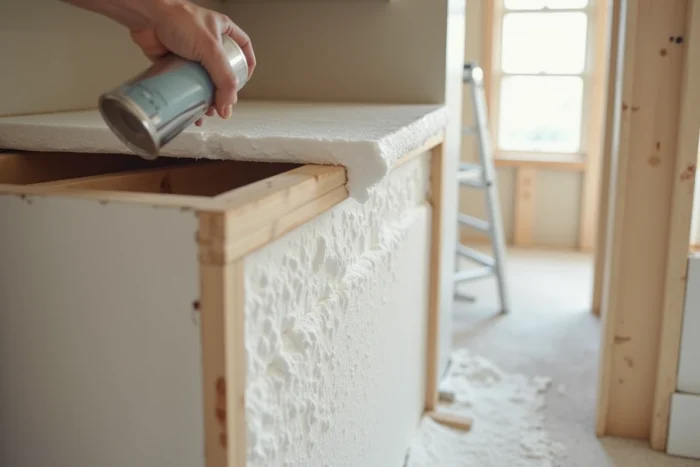
Beyond five centimeters, we enter the realm of structural solutions. Polyurethane expanding foam fills the void and hardens within hours. It can then be cut with a utility knife to achieve a flat surface.
The foam alone is not a finish. It must be covered:
- Smoothing compound then paint, if the wall is visible above
- Batten + backsplash for a clean and durable result
- Snap-on cladding panel for quick installation without heavy work
Never leave expanding foam exposed in the kitchen: it absorbs moisture and yellows in the light.
10. Countertop extension with a custom cut
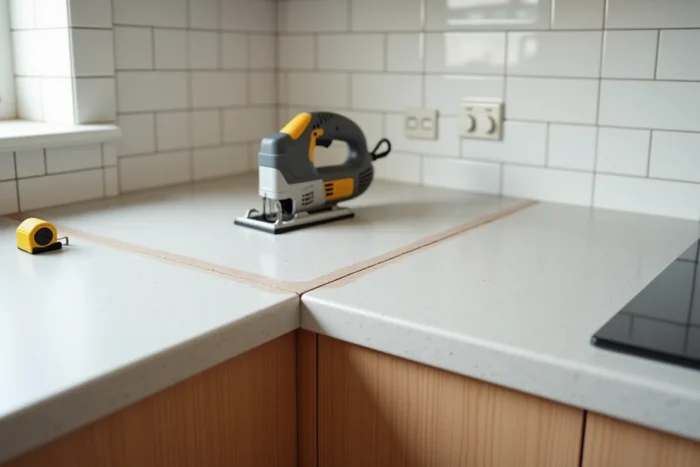
When the budget allows, the most radical solution is to replace or extend the countertop itself. A carpenter or kitchen designer cuts a piece to the exact dimensions of your configuration, taking into account pipes or outlets that create the offset.
This option eliminates the problem at the source. It costs more than a tube of silicone, but the result is permanent. It’s the logical choice during a complete kitchen renovation when measurements are taken from A to Z.
The right reflex before choosing a method: measure the width of the gap precisely along its entire length, as a rarely straight wall can create a variable gap. A small regular gap is treated with silicone. A large and irregular void requires a batten, a backsplash, or a custom cut adapted to the constraints of the wall.